- Printer Devices — the physical printers identified by IP address and port.
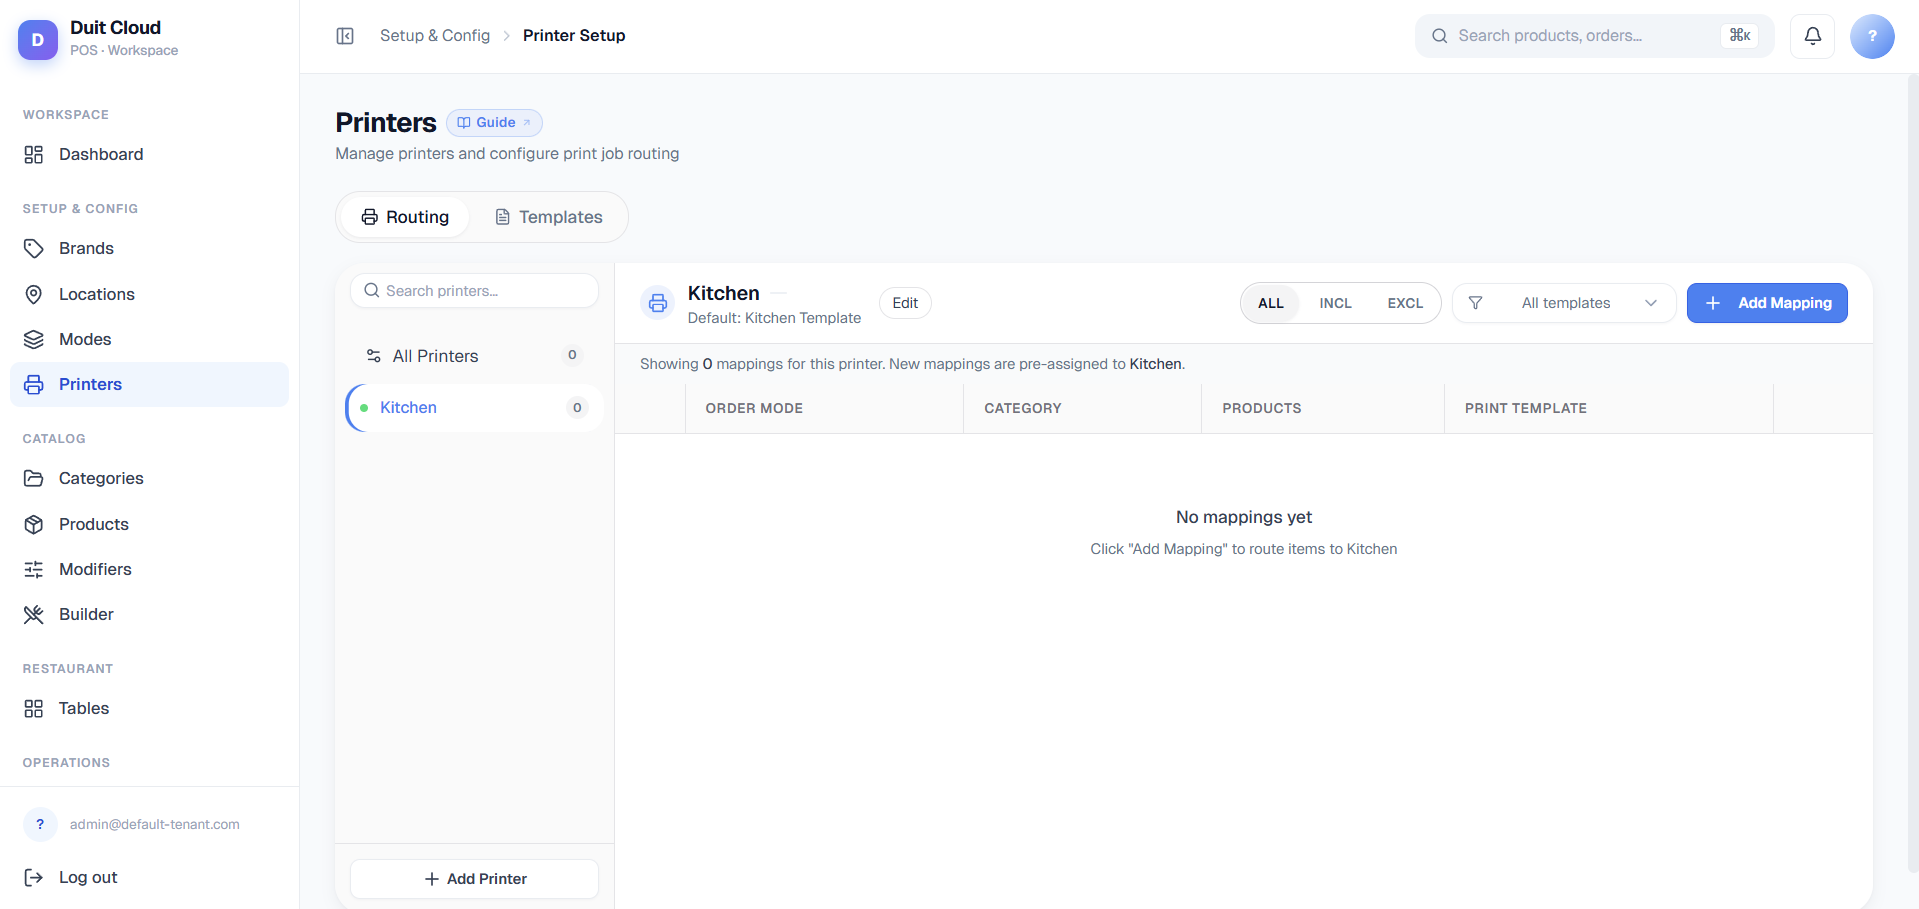
- Routing Rules — logic that decides which items or categories print to which device.
Printer Device Fields
| Field | Required | Description |
|---|---|---|
| Name | Yes | A label to identify this printer, e.g. Kitchen Bar or Front Counter Receipt |
| IP Address | Yes | The printer’s IP address on your local network. Must be static (fixed) — see tip below |
| Port | Yes | The network port — default is 9100 for most receipt and kitchen printers |
| Paper Width | Yes | 58mm or 80mm — must match the paper roll installed in the printer |
| Type | Yes | Receipt (customer copy printed after payment) or Kitchen (order docket sent to kitchen) |
| Active | No | Toggle off to disable this printer without deleting its routing rules |
Add a Printer Device
Add a Routing Rule
Routing rules decide which items trigger a print job on which printer.Click New Rule
Select:
- Printer — the target device.
- Condition — match by category, product, or order mode.
- Priority — higher priority rules take precedence when multiple rules match the same item.
Troubleshooting
See Printer Not Printing if a printer is not responding.Frequently Asked Questions
Why is the printer not printing any orders?
Why is the printer not printing any orders?
Work through this checklist: (1) Is the printer powered on and showing a ready light? (2) Is it connected to the same Wi-Fi or LAN as the POS terminal? (3) Does the IP in the dashboard match the IP on the printer’s self-test page? (4) Is there a routing rule targeting this printer? See Printer Not Printing for a full diagnosis checklist.
How do I test if my printer is connected correctly?
How do I test if my printer is connected correctly?
Go to Manage → Printers and click Test Print next to the printer. If you see a test page print, the connection is working. If nothing prints, check the IP address and network connection.
What port should I use?
What port should I use?
Most Epson, Star, and generic receipt printers use port
9100 for RAW printing over TCP/IP. Check your printer’s manual if 9100 does not work — some models use 515 or 631 for alternative protocols.Can I send the same order to multiple printers?
Can I send the same order to multiple printers?
Yes. Create multiple routing rules pointing to different printers. You can also create rules that match overlapping conditions — for example, one rule sends all food items to the kitchen, and another sends the full receipt to the counter printer.
Related
Print Templates
Customise receipt and kitchen docket layouts
Printer Not Printing
Step-by-step diagnosis guide
Order Modes
Route prints by service type
Categories
Route prints by menu category